Archives

All posts for the month November, 2019

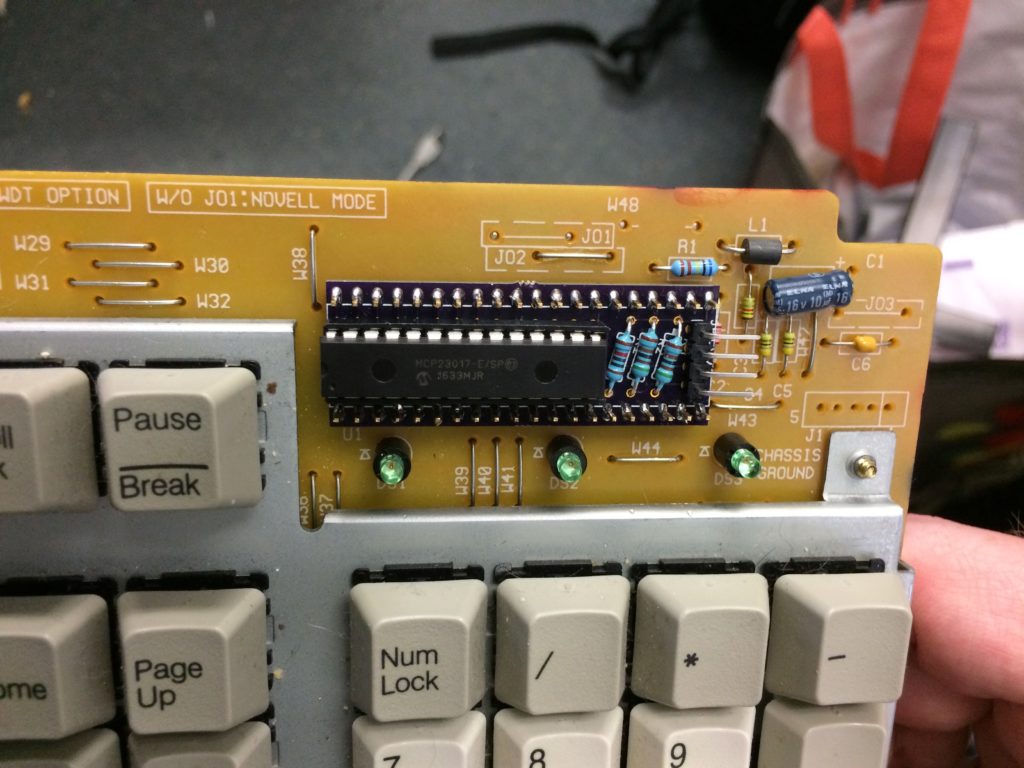
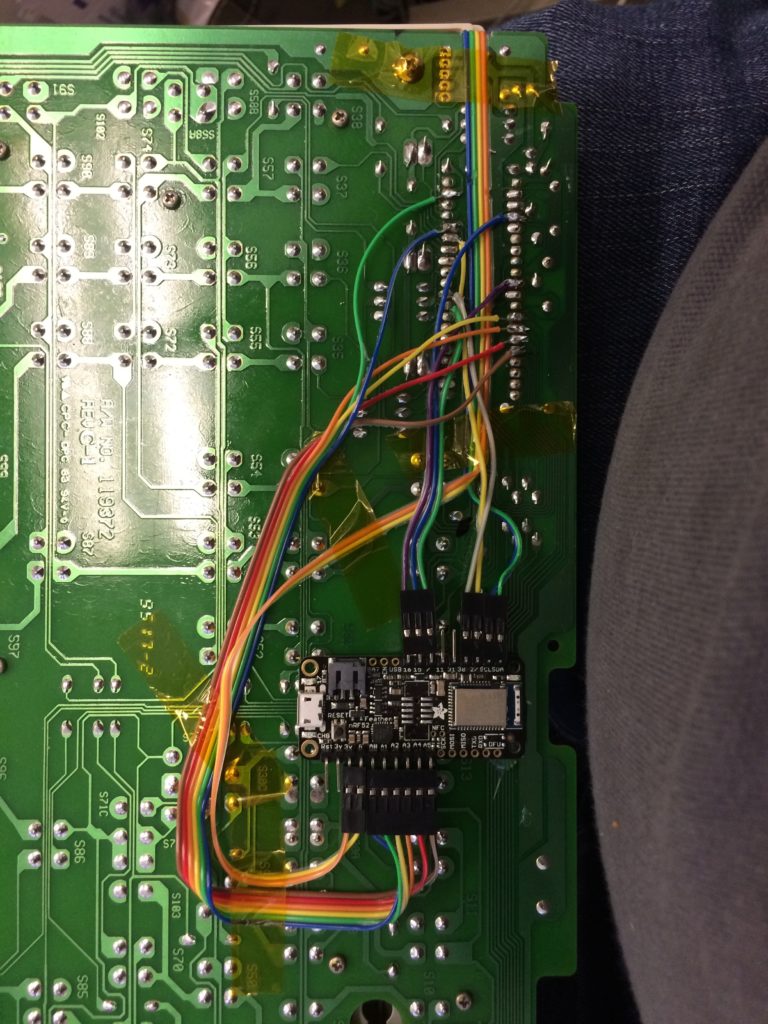
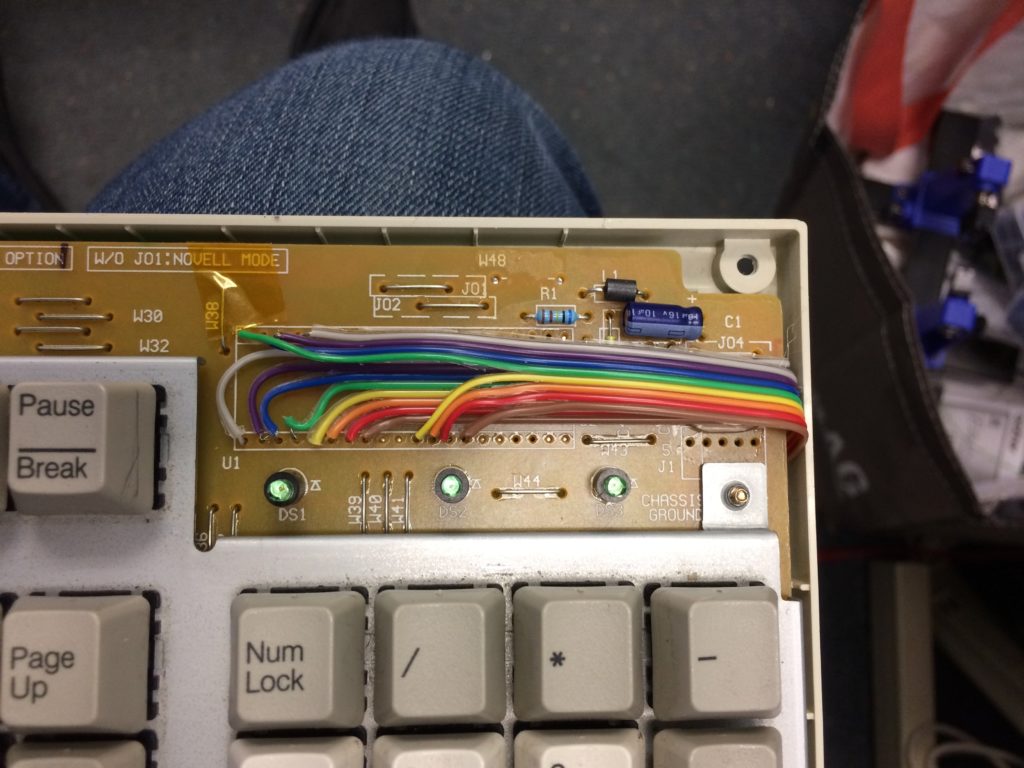
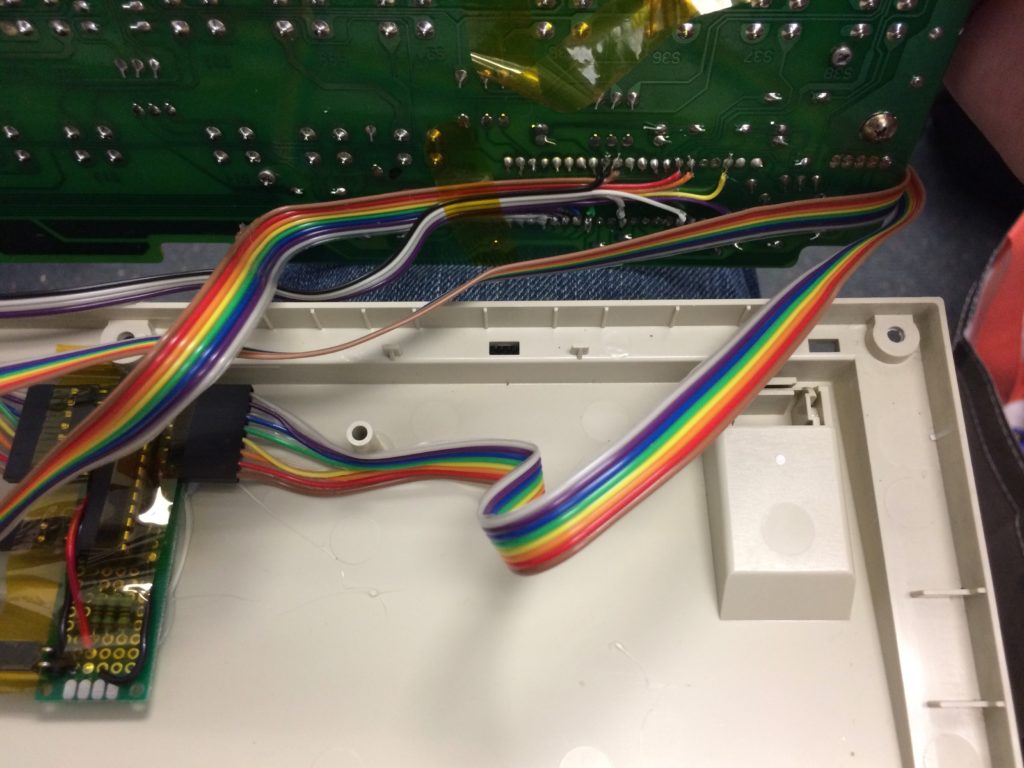
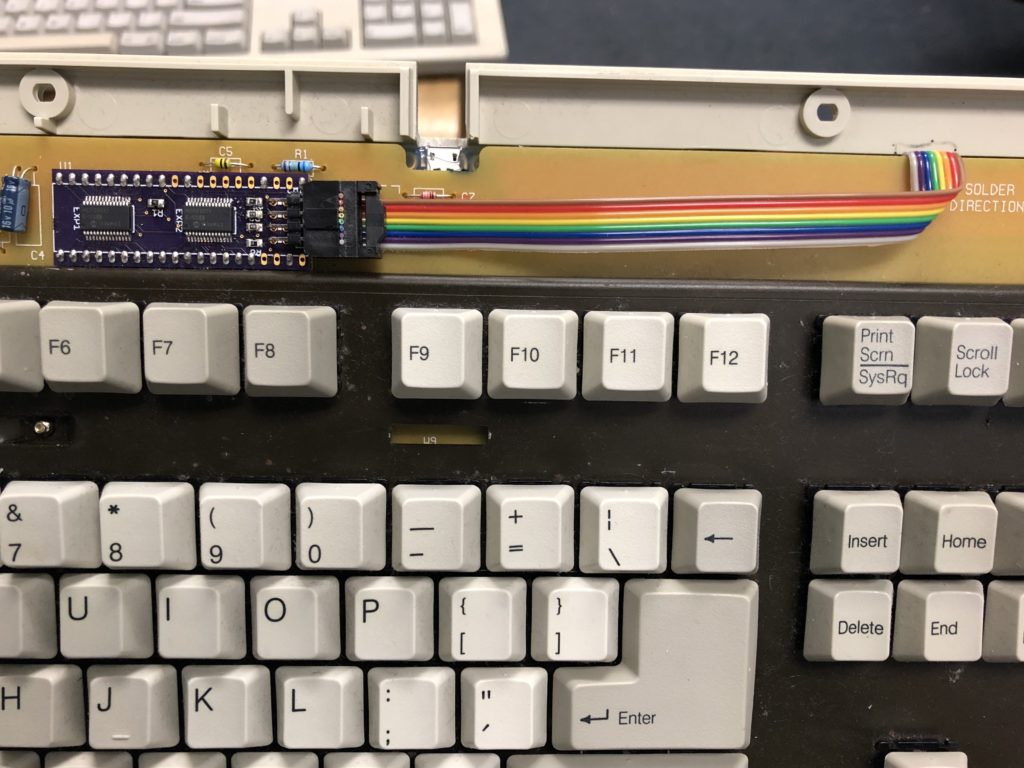
For this one I wanted to clean up the wiring to the keyboard PCB, and work towards making something that was a drop-in replacement for the original microcontroller. To this end, I bought tiny surface-mount versions of the IO expander chips, which were small enough to fit 2 on a board the size of the original microcontroller:

First surface-mount board. Looks nicer when not magnified (it’s 2″ long).

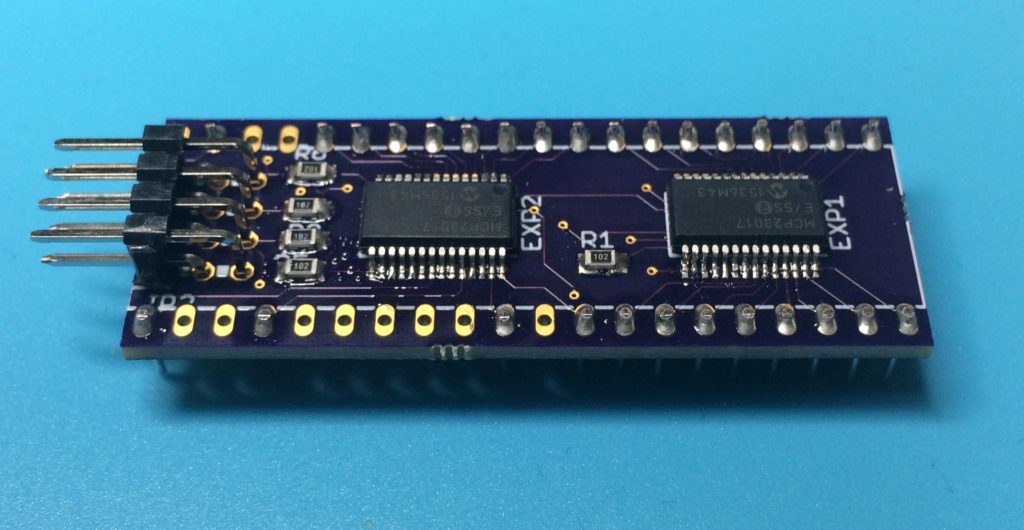
The 32 IO pins from the expanders were sufficient to connect to all of the rows and columns and LEDs. It has an 8-pin ribbon cable connector for power, ground, clock, data, and four more pins for interrupts from the expander chips. The keyboard firmware I was working with wasn’t interrupt-driven as of yet, but I wanted to have the option.

Up until this time, the pinouts I was using varied only slightly, so I had a few #defines in the code to switch between models. Since this one offloaded everything onto the expander chips, I reworked the code to be more abstracted and cleaned up.

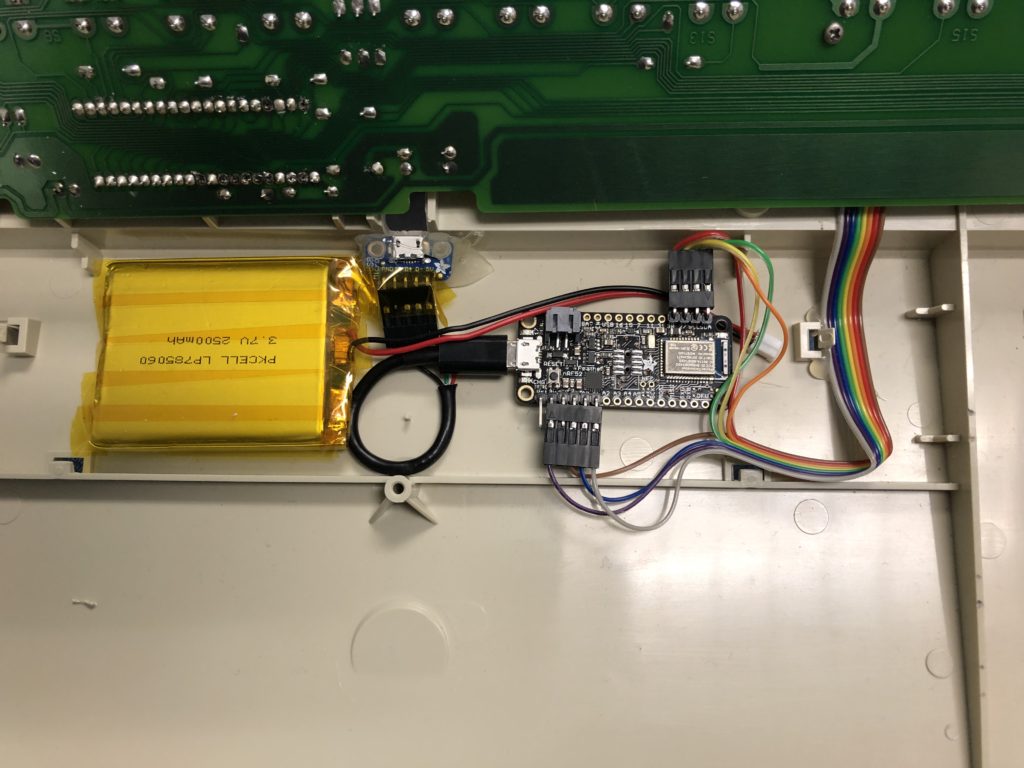
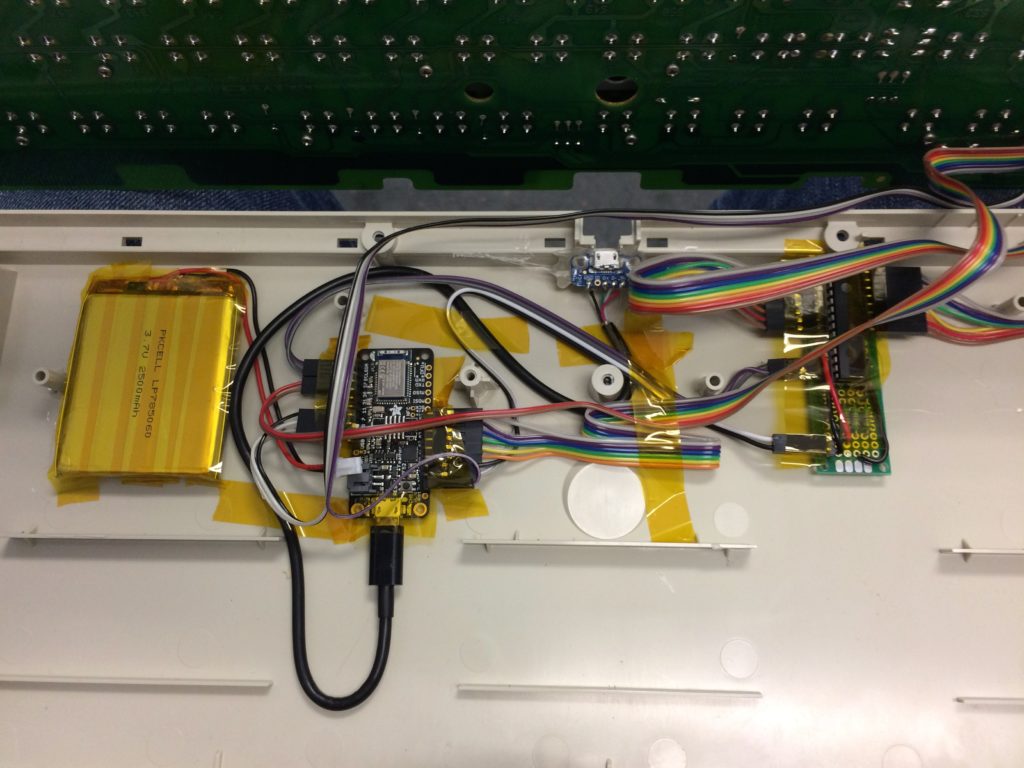
Unfortunately, this one didn’t initially work. This turned out to be for two reasons. First, sometimes the expander chips would get into a state where the startup code wouldn’t get them working. Cycling power to everything would return them all to a known state, but that was going to be complicated once it had battery power. I considered adding a button to the bluetooth board’s Enable pin, so I could power-cycle everything even when it was closed up with a battery, but some experimentation showed the better answer was to tie the Reset pins for the bluetooth board and expanders together, so the expanders got reset every time the bluetooth board rebooted.

The other problem was that it was just too slow. The abstracted code was definitely a lot slower, but even after optimizing it, it wasn’t performing to what I needed. Hitting a key very rapidly would sometimes get missed by the matrix scanning. I had assumed the IO operations going through the expander chips would be slower than the built-in IO pins, but when I did some quick benchmarking, they appeared to be between 200 and 500 times slower. Using one expander chip for the columns was fine before, because I could leave them all as inputs, and read all 16 pins in one operation. But the rows were more problematic, because they had to be cycled through, and each time the pin had to be switched between input and output; the currently-selected row had to be set as output-low, and the non-selected rows had to be set as floating inputs, while the columns could all be set as inputs with pullups. I figured even if I set things up to be interrupt-driven, the rows would still need to be scanned through, and the tests indicated it would probably be too slow.

This was disappointing, because I liked the idea of just having the option of being able switch bluetooth microcontrollers with anything else that had i2c connectivity. If I was going to go back to just using a single expander chip for the columns, I’d have to come up with a different solution for cleaning up the wiring.

The obvious next step in cleaning up the wiring was to connect the IO expander chip directly to the keyboard PCB. Doing it with protoboard would have been a tight fit, so this was my first experience designing a custom PCB. I drew it up in EAGLE CAD, and sent if off to OSHPARK to be manufactured for ridiculously cheap. ($9 for 3, if I recall correctly).

The board held the IO expander chip, three resistors needed to make it work, and a 4-pin connector for the power/ground/clock/data lines to the bluetooth board. It cleaned up a lot of the wiring, but there was still the mess of the rows/LEDs running to the bluetooth board:

Better, but still yuck.

Once again it worked, but I knew I could do better.

There seem to be a few different models of NMB keyboards, but they mostly boil down to some that are more wedge-shaped but have thinner bezels, and some that are flatter but have a larger bezel. I’ve only ever found one model that was new enough to have Windows keys, and it’s one of the thin ones that takes up a lot of space.

I started by mapping out the pinout of the microcontroller; I think I even found some official documentation at some point. But I ended up with a list of which pins on the 40-pin chip were rows, which were columns, which were capslock/numlock/scrolllock LEDs, and which were power and ground. The rest didn’t really matter.

The NMB keyboards have a matrix with 8 rows and 16 columns. Unfortunately, the bluetooth microcontrollers available didn’t have enough IO pins to connect directly to all of these. My solution was to pick up some IO expander chips (the MCP23017). It’s connected via i2c, so all it needs from the microcontroller is four pins (power, ground, clock, and data). It provides 16 IO pins.

The bluetooth microcontroller I picked was the (then relatively new) NRF52 Feather board from Adafruit. The first version of the board had a bug that prevented it from going into very low power mode (because it was powering the USB->serial chip off of the battery), but it was still a nice board.

For the first version of this, I put one of the expander chips on some prototype board, connected it to the bluetooth microcontroller, and then connected the expander chip to the columns, and the bluetooth board to the rows and LEDs.

IO Expander on protoboard.
Battery, bluetooth controller, USB connector (charging/programming), and expander board.
16 wires from the expander lead to the column pins.
The rows and LEDs were connected from the back of the board, leading directly to the bluetooth board.

This worked, but I really wasn’t happy with the mess of wires on both sides of the board. I was determined to follow it up with a version that cleaned up or eliminated a lot of the wiring.

I’m picky about my keyboards. I like them wireless, I like a full layout, and I like good mechanical switches. This is a hard combination to find for sale, as most mechanical keyboards nowadays are marketed towards gamers, and they don’t like the potential latency of wireless keyboards. Even the hobbyist DIY keyboard resources typically revolve around minimalist layouts.

So fine, I’ll make something. This is probably for the best anyway, since my favorite keyswitches are no longer being made. My favorites were the original Apple Extended Keyboard (using undamped ALPS switches), and the lesser-known line of keyboards using the NMB “space invaders” switches. My college roommate had one of those NMB keyboards with his 80286 PC, and I kept that keyboard to this day; a few years ago I hardwired a PS2-to-USB adapter inside it.

I wanted wireless, though, and there were a few different ways of achieving this. The first pass was very hacky. I picked up a cheap $20 logitech wireless keyboard that had a full layout, and mapped out the matrix that its keys used. (Keyboards work by having a grid of rows and columns, and every time you press a key it connects that row and that column. A microcontroller scans across them, looking for connections. The layout of rows/columns to keys varies widely across models, based on PCB layout and other factors.) At this point I could have designed a new PCB for a keyboard that used the same matrix, and attached it to the controller board from the logitech keyboard, but PCB manufacturers charge by the square inch, and these keyboards are large.

Instead, I took my test Apple keyboard, and removed its PCB entirely, and hand-wired connections between keys to match the Logitech matrix. Lest things get too crowded between keys, I used thin magnet wire to connect them. It was not pretty on the back. At this point the only thing holding the keys in was the fact that some (especially early) mechanical keyboards have the keys mounted through a metal plate before being connected to the PCB.

I’m not proud of this, but it worked.

Well, it worked, but the metal plate didn’t provide enough stability; I had to pop a keycap off to fix a flaky keyswitch, and it ended up pulling the whole keyswitch out of the plate, ripping the thin magnet wires out of the back in the process.

If I were to try this approach again, I’d grab a bunch of the enabler boards and connect them with hookup wire or something. But I wasn’t going to try this approach again; for subsequent versions, I wanted to replace the original keyboard’s microcontroller with something that would interface with a modern bluetooth-enabled microcontroller. I had all the information I needed about the Apple keyboard from this site, but those are more expensive for tinkering, so I focused on the NMB models. (Quick note, though: if you like the “clacky” feel of the first Apple Extended Keyboard as opposed to the softened sound and feel of the AEK2, you can take the AEK2, open up each keyswitch, and remove a couple of rubber dampers from each one, and reassemble.)